How to Patch a Plaster Wall

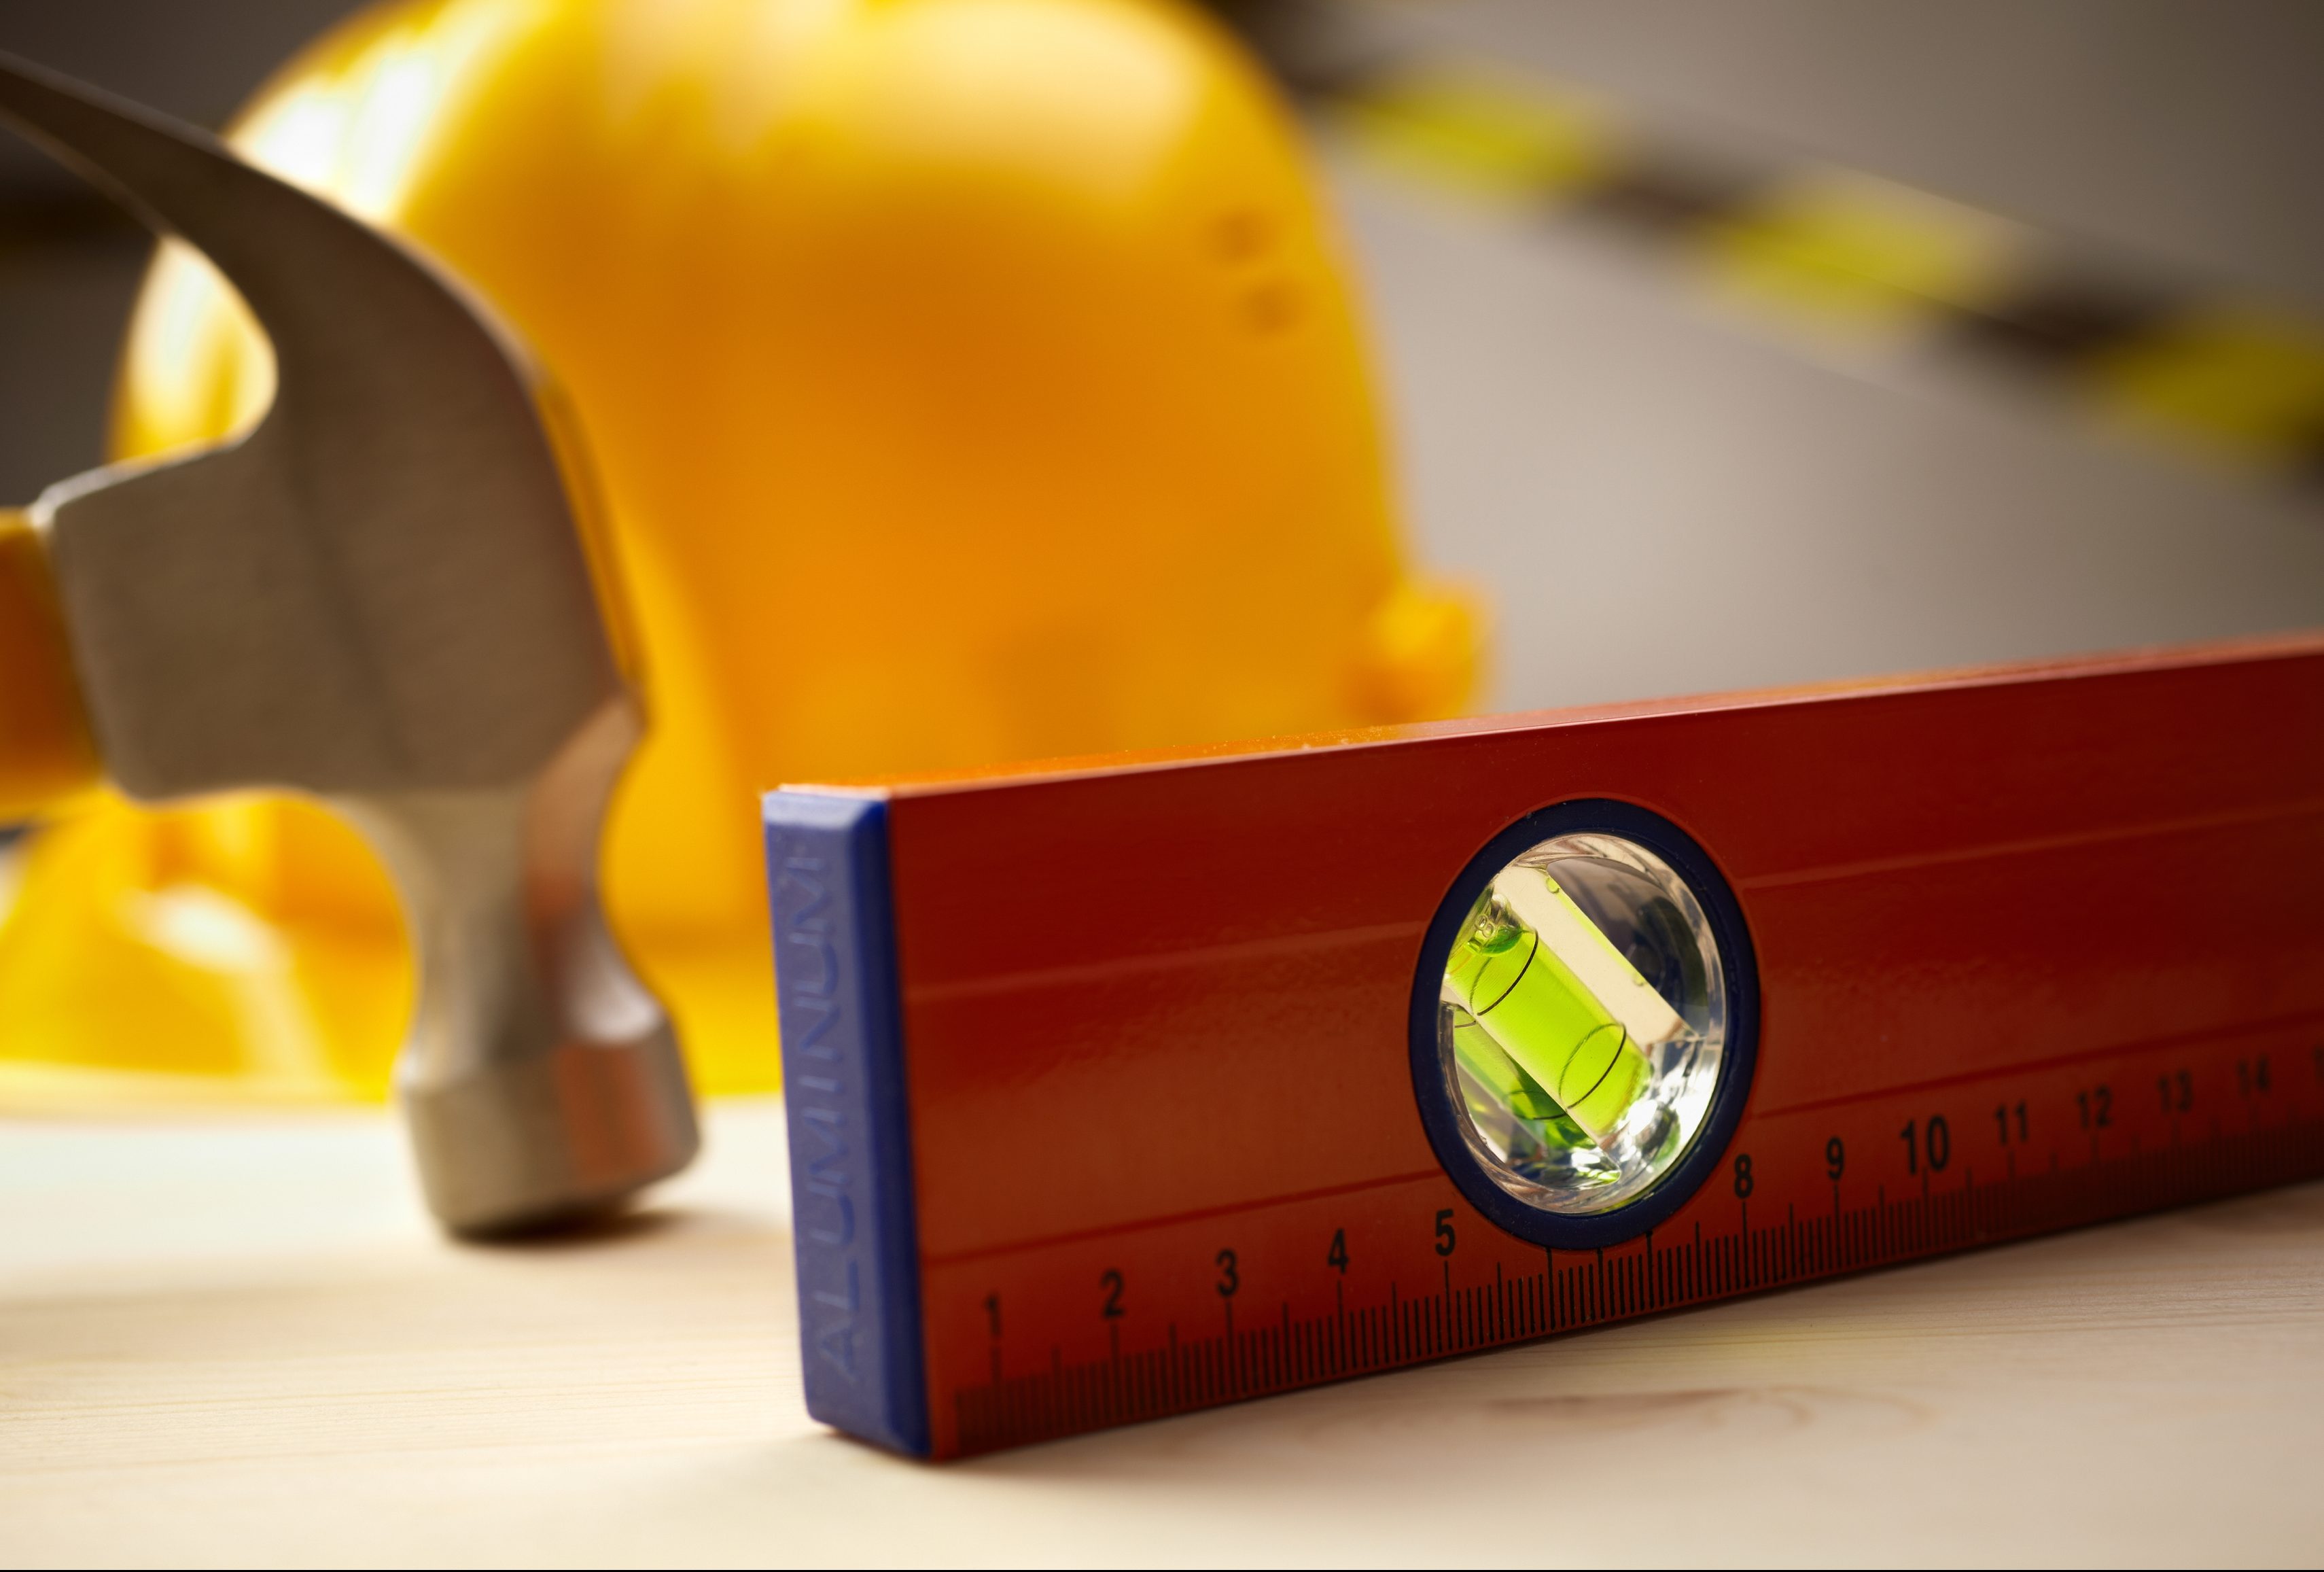
Remodeling a home can bring to light many unexpected surprises, like an old plaster-over-lath wall for instance. Many homeowners immediately feel the urge to rip down plaster and replace it with drywall. But sometimes, a plaster wall can be salvaged if done correctly. Continue reading to learn how to patch a plaster wall and more!

Drywall Repair and Painting 317-454-3612

Drywall Repair and Painting 317-454-3612

Patching Plaster

Plaster is applied to latticework, or laths, which are basically narrow boards or strips of wood that create a framework for a wall. Overtime, plaster can pop off its laths. Sometimes, if the plaster is firm and falls off in large pieces, they can simple be reattached and re-sealed. Other times, crumbled or soft plaster will need to be completely removed down to the latticework and to the outer edges of firm plaster, and then re-done from start to finish. Either way, patching up a plaster wall is possible and can be done all on your own with the right tools and knowledge.

How to Get Started

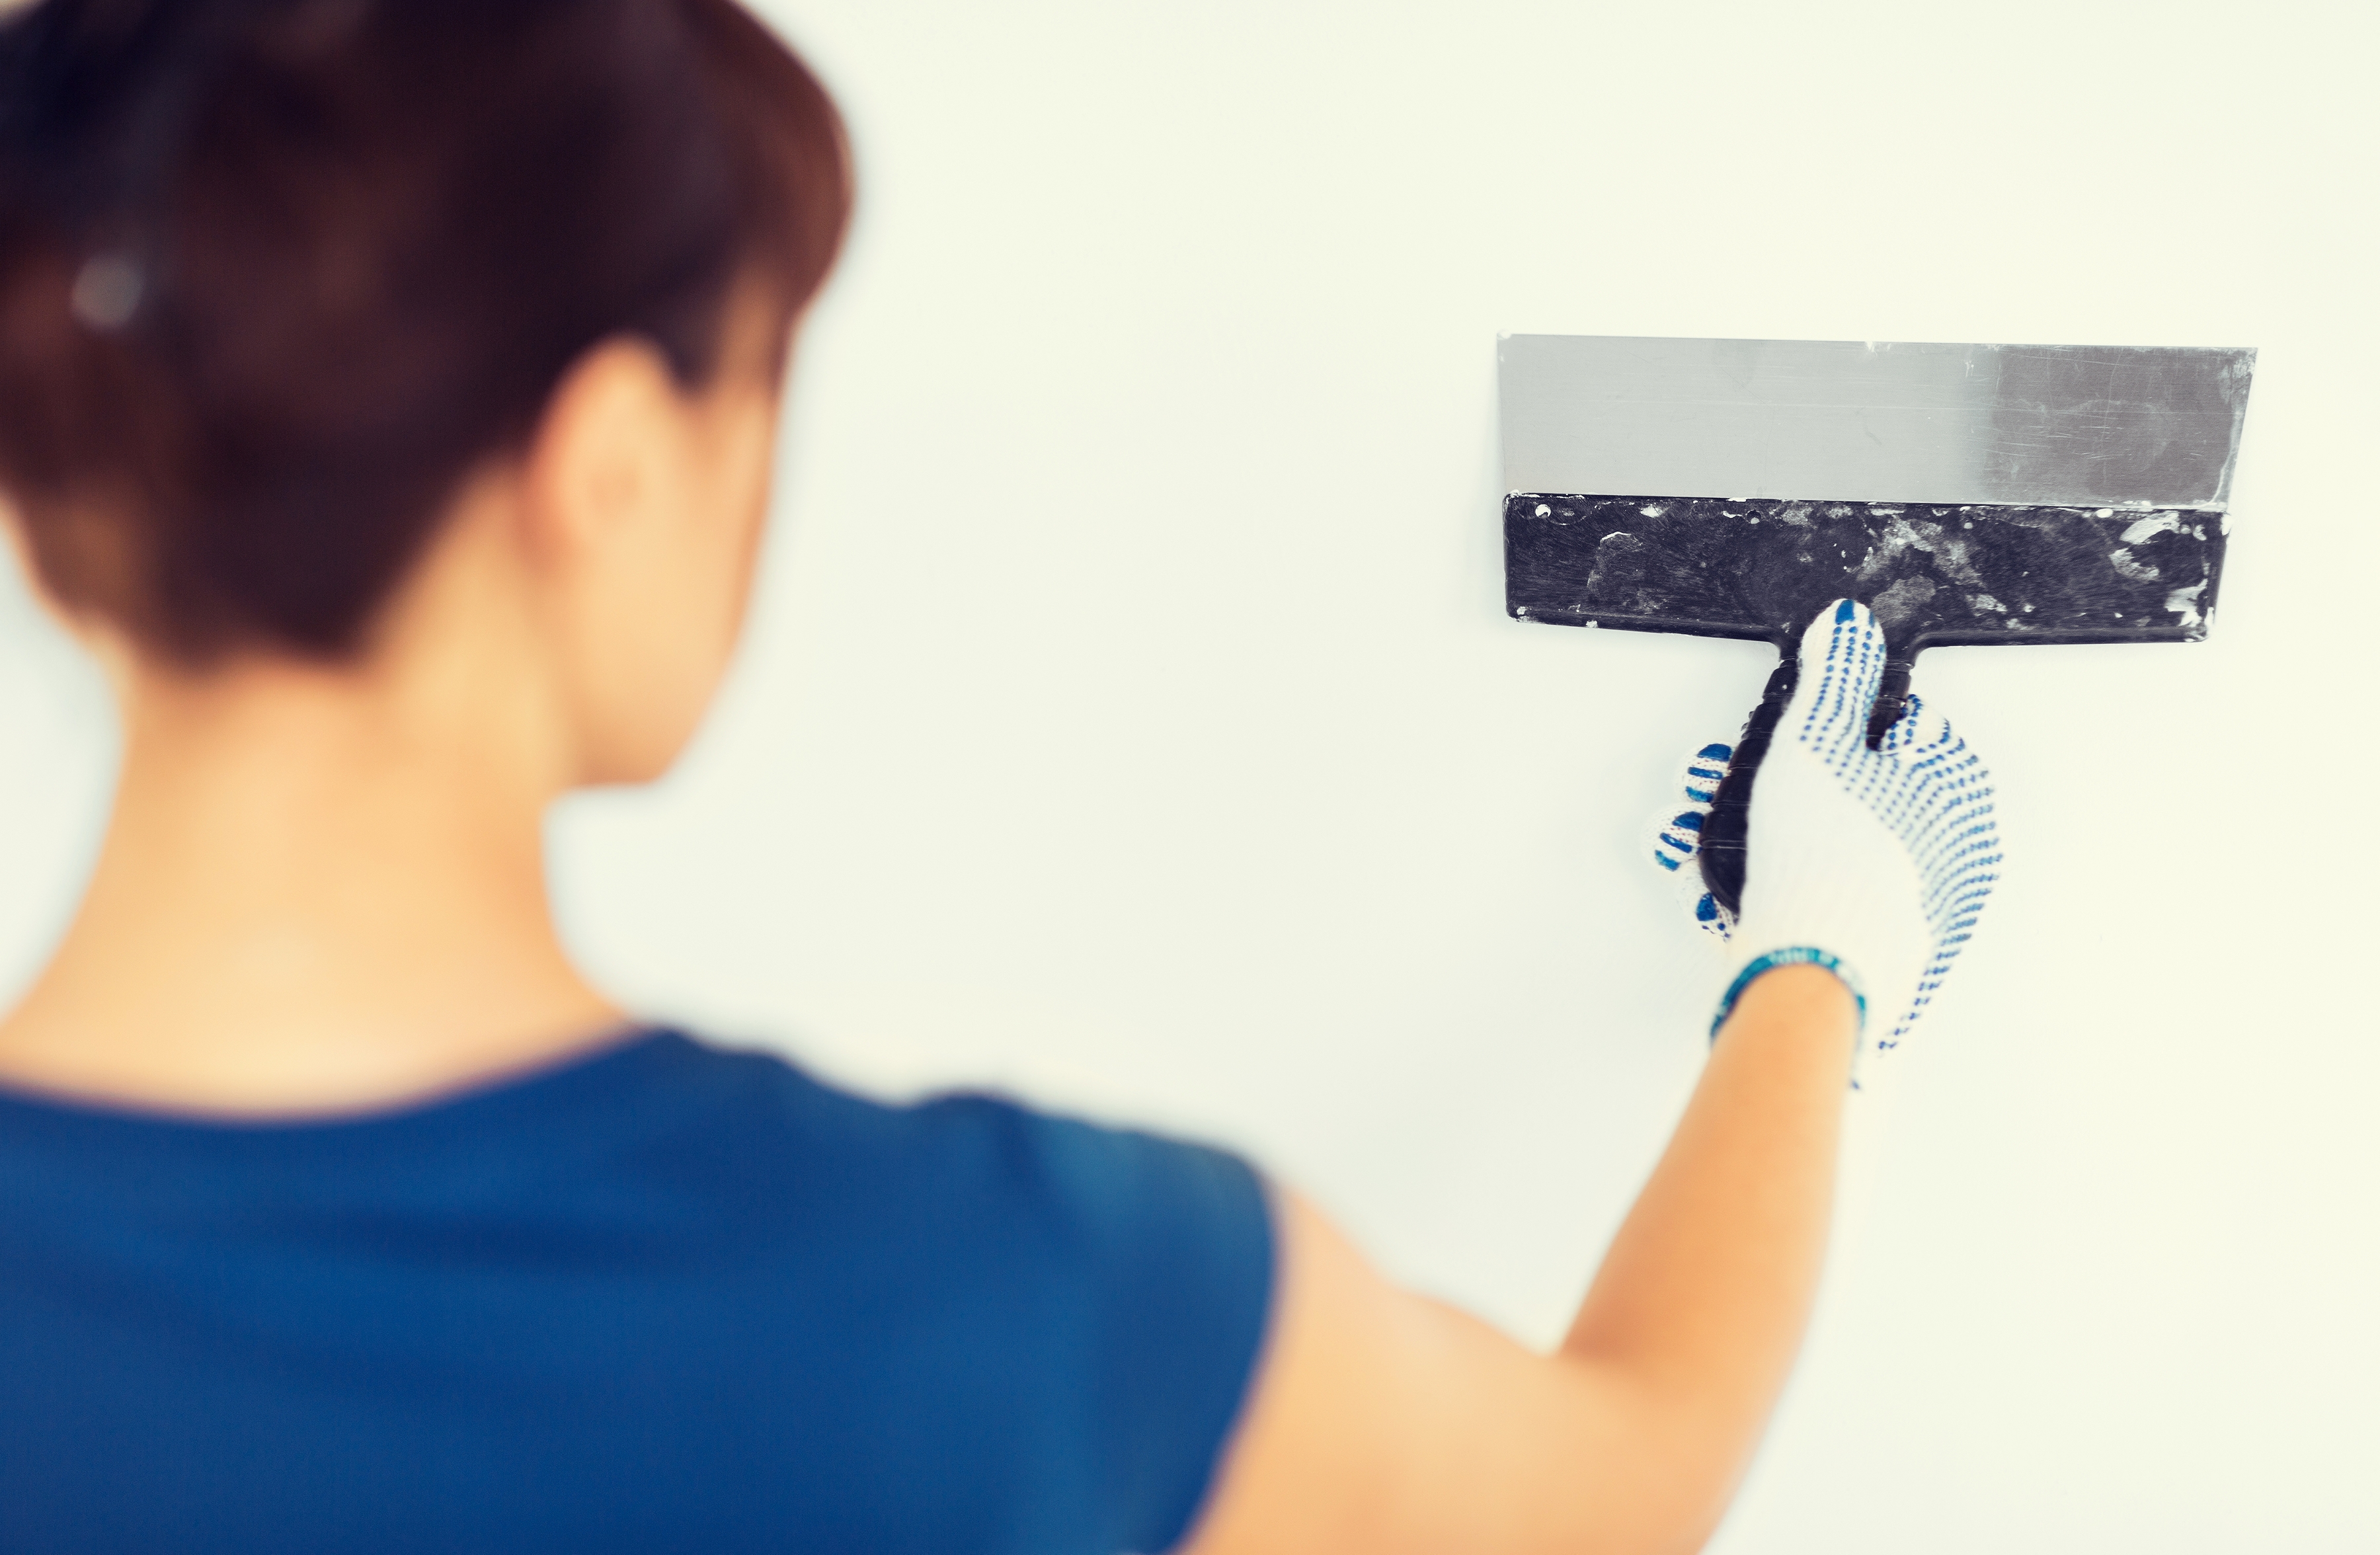
First, gather all your necessary supplies. You will most likely need a chisel, a trowel, lime putty (combination of hydrated dolomitic lime and water), clean dry cloths, fiberglass mesh tape, angle plane or drywall screen, a bonding agent, a mixing board, and a colorless sponge.

With all supplies ready to go, use the chisel to remove the old plaster from between the latticework. Be sure to wipe away all the loose plaster crumbs, dust, and debris.

Now, use your angle plane or drywall screen to smooth out the hole around the plaster. Next, apply the bonding agent over the latticework, as well as, all the plaster that is to be patched or re-coated.

Cover all of this, except for the small cracks, with your fiberglass mesh tape.

Next, prepare your lime putty by combining your hydrated dolomitic lime with water until you get a consistency similar to yogurt. Allow the lime to disintegrate in the water for at least 20 minutes, until a thin layer of water rests on the top. This ensures even re-hydration.

Apply a heap of the putty to your mixing board in a ring shape. Pour some bonding agent in the center and continue to mix in handfuls of gauging plaster until you achieve the proper consistency.

Use your trowel to mix all of this until you get a dough-like result. Apply this mixture to the exposed laths and around the edges of the holes, using firm pressing motions. Leave a slight decompression for the final coat later on.

Cut out another sheet of fiberglass mesh at a size that matches the hole and firmly press it into the wet plaster.

Mix another batch of the lime putty mixture, this time using less gauging plaster to get a softer product that’s easier to work with.

Apply a thin and final coat over the mesh and previously-lain plaster. Use your sponge to touch up any inconsistencies or imperfections on the wall.

Wait at least 30 minutes for everything to dry. Sanding should be necessary!

Professional Drywall and Plaster Patching Services

Patching up a plaster wall is not a novice job. It takes practice and a bit of handyman knowledge to do a good job. For this reason, most homeowners would better benefit from hiring a licensed general contractor for accurate and professional drywall or plaster wall repair services. And you’d be surprised just how inexpensive these services cost.

Restoration By L & B, LLC

Home Repair Service 317-454-3612

Home Repair Service
317-454-3612

Call Restoration By L & B, LLC at 317-454-3612 for professional wall repair services in Indianapolis, Indiana. Owner and licensed general contractor, Lee Elliot, is happy to answer your questions about plaster patching services, drywall repair, and more. We offer residential and commercial home remodeling and repair services at the most competitive prices in town. Call 317-454-3612 for a free estimate or information regarding drywall repair in Indianapolis, IN today.

How to Find Dry Wall Studs Without Using a Tool

Home Remodeling and Repair 317-454-3612

Home Remodeling and Repair 317-454-3612

Five holes in the wall and counting, with one hand holding a leveler and the other holding a pen; and the system continues to repeat, only to fail over and over again. Sound familiar? It is frustrating enough trying to hang a picture just right, let alone finding a stud to do it on first; but it’s vital to use studs in order to retain proper support and avoid wall damage. So many walls have suffered from failed stud finders and bad hunches.

Not to worry, as we have all had our failed stud-exploration experiences that we so badly wish to forget. Fortunately, that it is all in the past now. There are easier ways to find dry wall studs, rather than using an ineffective tool or stud finder to do it.

Locating Wall Studs

Before looking in the right place for wall studs, you must first know a few important facts about walls. For instance, the purpose of a stud is to hold up interior drywall and exterior sheathing. So you can always safely assume that studs are located at the top, bottom, or corners of walls. You can also assume that studs are 16 inches apart from center in newer homes, and mostly likely 24 inches from center in older homes. You can count on finding a stud behind an electrical box as they are generally held up by one. Another fact about walls you should know before going on a stud-hunt is that most molding and trim are nailed to studs. Also important to know, studs are typically located on either side of a window. This is good knowledge for curtain and valance hanging.

Instructions for Finding Drywall Studs:

If present, start at the trim or crown molding. Even though these areas are painted and caulked, you can sometimes see the nail cavity, or the point in which it was nailed into the wall. These features are only nailed into studs, so if you find where trim is nailed to the wall, simply measure 16 inches up and you should find a stud.

For properties without trim, you can start with the outlets and light switches. These are another indication of nearby wall studs. There is an electrical box on either side of an outlet, you simply have to figure out which one with a quick knock or tap. When you finally determine the right side, simply measure 3/4th of an inch outward, and then measure in 16 inch increments until you hit the stud you need.

Since we mentioned studs are at tops, bottoms, and corners of walls, you can also start at a corner wall and measure 16 inches inward to the center. Since all rooms are not always divisible by 16, use intuition and the knock-test to find a wall stud if measuring from a corner to center. Keep in mind that a stud could be just before, or just after, 16 inches from a corner wall, depending on the room’s dimensions.

Always remember to mark each stud as you find them, and patch up and fix any practice or mistake holes with caulk and paint. In the case that you have put too many holes in your wall, or you simply need to replace drywall for another reason, your best option is to call an Indianapolis general contractor for professional service.

Restoration By L & B, LLC

General Contractors Indianapolis Indiana 317-454-3612

General Contractors Indianapolis Indiana 317-454-3612

Call Restoration By L & B, LLC at 317-454-3612 for professional drywall repair services in Indianapolis, Indiana. Owner and operator, Lee Elliot, and his team of general contractors, are highly qualified and experienced in drywall services. We offer a wide range of drywall repair and replacement services for residential and commercial properties. We offer the most competitive prices for handyman work, so you can trust you are getting the best deal in town! Call 317-454-3612 to learn more about our drywall installation and repair services in Indianapolis, IN today.