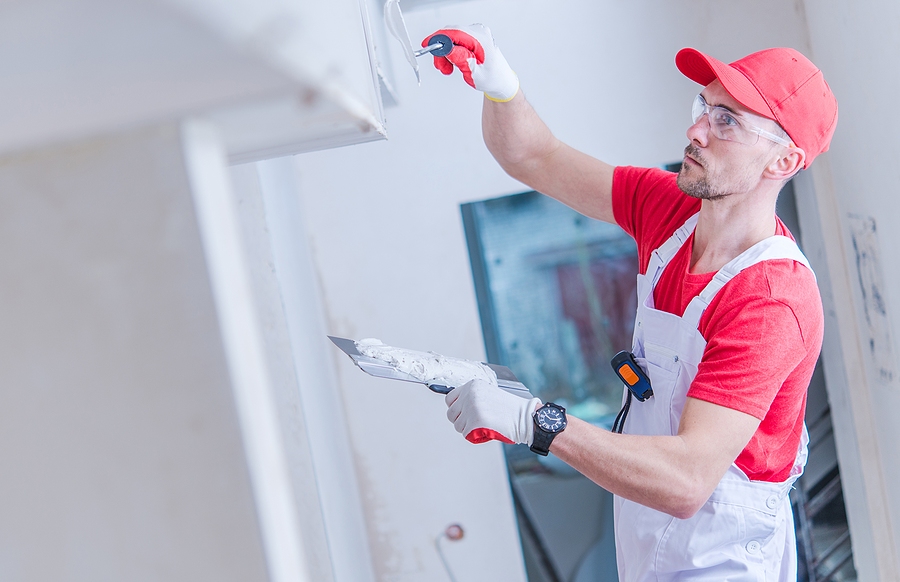
Whether your parents or your grandparents, as they age your elderly loved ones need a few home modifications to make the transition into their senior years safer and more comfortable. Continue reading to learn the top recommended home remodels and modifications for elderly and even disabled loved ones.
Start With the Simple Stuff
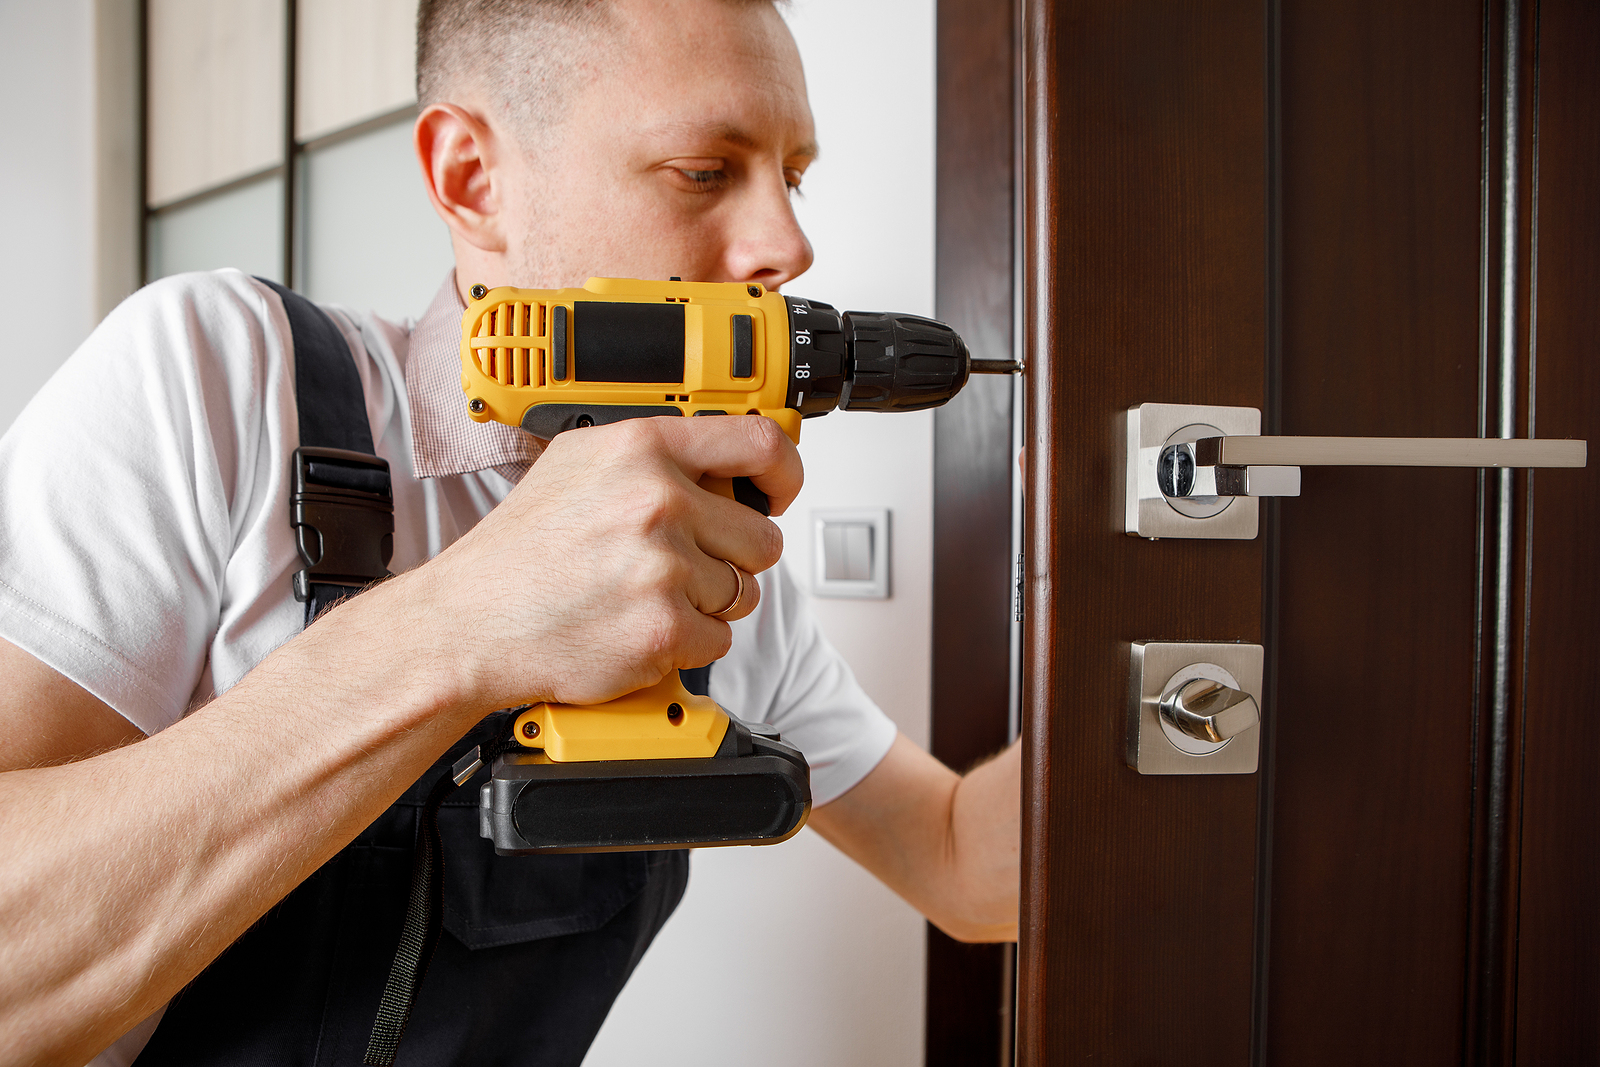
There are little things around the house that can pose problems for or slow down your aging parents or grandparents. For instance, consider changing out your doorknobs to L-handles for easier gripping, grasping, and turning. Due to loss of dexterity and health conditions like arthritis, doorknobs and the twisting motion they require are sometimes too difficult to use for aging citizens. Another simple modification could be censored or automatic lighting so that your elderly loved ones do not have to fumble with light switches while also trying to use walkers, canes, wheelchairs, or grab bars.
Grab Bars and Handrails
As we age, we tend to lose our strength and mobility becomes more difficult. For this reason, it is highly recommended to install grab bars and handrails wherever necessary to assist your elderly loved ones as they get around the house. It is also recommended to put chairs or stools at the top and bottom of steps to allow them to take a rest after climbing or descending them.
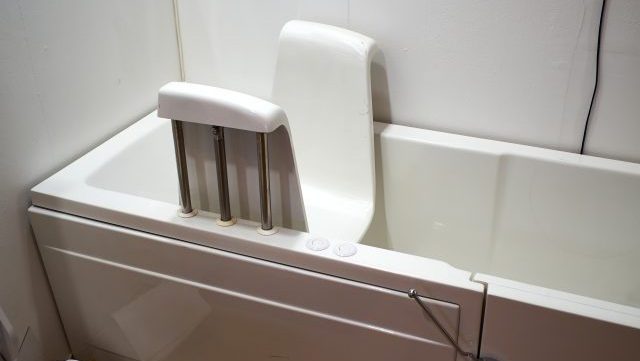
Bathroom Modifications
The bathroom can be a dangerous place for your elderly loved one if it is not equipped for their safety. In addition to installing the proper grab bars and handrails for showers and baths, you should also consider putting a corner seat in the shower as well. Other inclusions could be shower want attachments and a nonslip bathmat.
Doorway Width and Light Switch Plates
In the case that your elderly loved one will use a walker or wheelchair, it is recommended to increase the width of all doorways to at least 36 inches. For wheelchairs in particular, is recommended to increase the door with to 48 inches. In addition to increasing doorway with, you might want to also consider lowering your light switch plates for easier access.
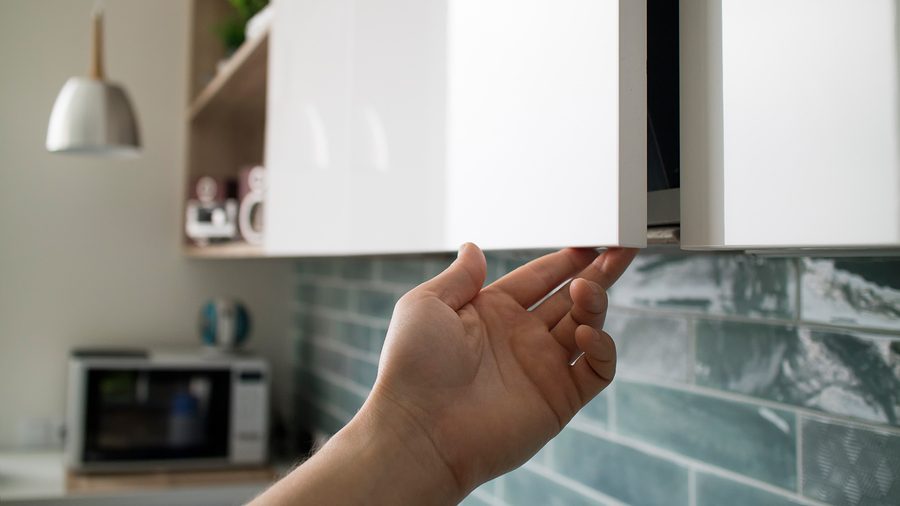
Pull Down Shelving
There is a very useful and even stylish addition is known as pull-down and pull-out shelving. This type of shelving system allows those in wheelchairs or those with mobility issues to easily access the higher shelves of cabinets in the kitchen and in the bathroom. Pull-down shelves are used for the higher up shelves, while pull-out shelving systems are used for the lower cabinet areas.
Slip-Free Applications for the Kitchen
In the kitchen, a lot of cooking and cleaning and walking in from the garage and outdoor areas takes place. For this reason, the kitchen is often a slippery area. One home modification that is very important for the aging community is slip mitigation. Consider installing low pile carpeting in the kitchen or even slip roof tile for a safer kitchen experience.
When you are ready to make these important home remodeling modifications to your home or your parent’s home, contact Restoration By L & B, LLC at 317-454-3612 for affordable home renovation services in Indianapolis, Indiana. We serve commercial clients, too.
You Might Also Enjoy:
Suggested Home Remodeling Ideas for New Puppies
Include Potential Tax Increases in a Home Addition Remodeling Project
How Much Will it Cost to Remodel My Basement?