10 Electronics That Should Not Be Plugged into a Power Strip

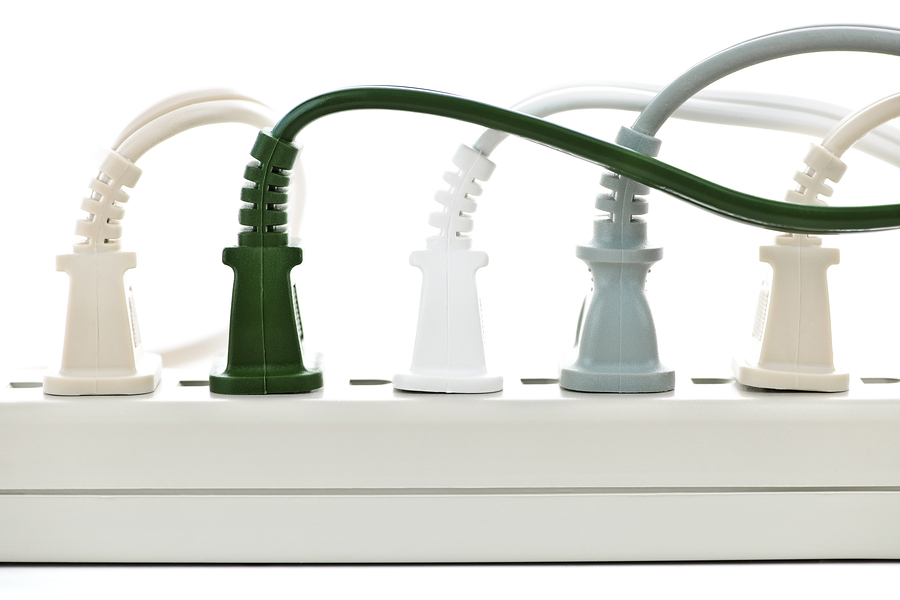
Power strips are highly useful to have on hand. But be sure you never, under any circumstances, plug these 10 electronics into one, or else face some dangerous and costly consequences!
Indianapolis Handyman and Home Remodeling Contractor
Indianapolis Handyman and Home Remodeling Contractor 317-454-3612

Power Strip Safety 101

Power strips certainly solve the problem of the ever-needed power outlet, but they are not a universal tool. There are plenty of electronics, appliances, devices, and more that should never be used with a power strip. Here are the top 10 things you should never plug into a power strip:

➀ Air Compressors

Air compressors use too much energy, so they are not safe for power strips. They can overload the power strip just by starting it up.

➁ Coffee Machines

Regardless of which kind of coffee maker you own, it should never be plugged into a power strip. Not only can the strip overload, the actual coffee machine can overheat, smoke, or catch fire.

➂ Hair Tools

Everything from flat irons and curling irons, to crimpers, wands, blow dryers, and more, electronic hair devices are not meant to be plugged into a power cord. They will trip the circuit breaker before you can finish your style.

➃ Microwaves

When it comes to microwaves, it is extremely dangerous to operate one via a power strip. Microwaves use an enormous amount of energy, which will quickly burn out the power strip, and potentially cause a fire.

➄ Portable Heaters and Air Conditioners

Because these portable units are designs to turn on and off on a programed cycle, they tend to use a lot of energy to start up and stay on. For this reason, they are not suitable for power strips.

➅ Power Strips!

Yes, it is true. You should never plug a power strip into another power strip! Known as “daisy chaining”, this bad practice can start a fire, or quickly overload your electrical system. Furthermore, it breaks most building and fire safety codes.

➆ Refrigerators/Freezers

Like microwaves, refrigerators and freezers are not designed to work on a power strip. They use way too much energy to safely operate on a power strip. Such appliances should always be plugged into a GFCI outlet.

➇ Slow Cookers/Hot Plates

Slow cookers like crockpots, instant pots, and rice cookers are meant to use a lot of heat and energy to cook food. For this reason, they cannot be plugged into a power strip. The same rule applies for hot plates and similar kitchen and catering electronic devices.

➈ Sump Pumps

Sump pumps cannot be plugged into a power strip under any circumstances. They should always be plugged directly into a GFCI outlet. In fact, the GFCI outlet should be positioned slightly above the floor in case of a flood.

➉ Toasters

Like coffee makers, you wouldn’t think a toaster would be incompatible with a power strip, but they are! Toasters are designed to make a lot of heat in a short amount of time; a feat that requires a lot of energy. By now, you know that too much energy will overload a power strip.

Professional Home Remodeling and Handyman Service in Indianapolis

Call Restoration By L & B, LLC at 317-454-3612 for affordable home remodeling services in Indianapolis and its surrounding areas. Our experienced general contractors provide a wide range of services for both commercial and residential properties, from general handyman services and home remodels, to full-on renovations, additions, conversions, and more. Request an estimate, today!

Home Remodeling Contractors 317-454-3612

How to Refinish Laminate Cabinets On Your Own

Many people assume laminate cabinets can’t be refinished, but this is far from the truth! There is no need to replace laminate cabinets because they are old or outdated. Instead, you can simply refinish them! Instantly brighten, modernize, and alter the look of your kitchen’s laminate cabinetry all within your budget. It is important to review the correct process for laminate cabinet refinishing in order to achieve the best possible results. For those uncomfortable with do-it-yourself handy work, there’s no need to worry; you can hire a professional contractor and still remain within budget!

Continue reading for a brief guideline to refinishing laminate kitchen cabinets, and who to call for professional general contractor work for kitchen remodeling in your town!

Indianapolis Kitchen and Bathroom Remodeling
Indianapolis Kitchen and Bathroom Remodeling 317-454-3612

Laminate Kitchen Cabinets

If you are determined to refinish your kitchen laminate cabinets on your own, then good for you! Take a look at the guide below to learn some of the major components and key points for these particular projects. Be sure to prepare by first gathering all the necessary supplies and tools to get the job done right. These include:

⇢ Paint and Paint Primer (Water-Based)
⇢ Foam Rollers
⇢ Rolling Pans
⇢ Painter’s Tape
⇢ Sandpaper (240 & 150 Grit Sheets)
⇢ Old Bed Sheets or Drop Cloths
⇢ Disinfectant Spray
⇢ Clean Rags
⇢ Microfiber Cloth
⇢ Permanent Marker
⇢ Screwdriver

For an even more updated look, you can purchase and install new, more modern-looking cabinet handles. These are available for a variety of designs and prices at any hardware or home store. If any laminate is peeling or cracking, it will need to be replaced entirely. Do not proceed to refinish peeling o or cracked laminate cabinetry.

However, if it is only slightly peeling in one corner or so, you can simply sand the exposed area behind the laminate, and then re-glue it using a water-proof adhesive. Use masking tape to hold it in place while it dries. This works best for small areas and corners. Once you have accumulated all the tools and supplies you need, you are ready to get started.

How to Get Started:

First clean all of the cabinets. Dust them with the microfiber cloth to remove solids, and then follow with a thorough wipe down using the disinfectant spray. This provides stronger primer adhesion and ensures a cleaner smoother finish.

Using the screwdriver, remove each cabinet face and its handle while keeping track of where each one goes. Use the permanent marker to label each one so you will remember where to replace it later.

Place the cabinet faces on the drop cloths, making sure the edges remain exposed and accessible. Be sure the drop cloths cover enough surface area to protect the surrounding environment from paint.

Use the painter’s tape to line the inside edges of the cabinet faces to prevent paint drips. Take your time on this step to ensure accuracy.

Use the 240 grit sandpaper sheets to manually sand the cabinet faces. You may choose to use a handheld portable sander if you are familiar with its operation. Just be sure to not over-sand.

After sanding, use your microfiber cloth to wipe away the residual dust and sanding debris. Do this thoroughly and remove as much dust as possible.

Using your foam roller, apply a coat of water-based paint primer to each cabinet face. Allow this to dry completely, usually 8 to 12 hours depending on the brand.

Once the primer is applied and has dried completely, sand each cabinet face again using the 150 grit sandpaper. Remove excess sanding dust with your microfiber cloth afterwards.

Now repeat the last two steps.

Once both coats of primer are applied and have dried, it is time to apply your water-based paint of choice using your second foam roller. Be sure to use v-strokes during application to promote even paint marks and distribution.

Now repeat the last step.

Allow the cabinets to dry for at least 72 hours before reattaching hardware and reassembling them in their rightful place. This ensures that the paint has dried and hardened completely.

You may choose to hire a professional painting contractor instead of tackling this project on our own. If you are not familiar with handy work, and have never painted before, it may be the wisest choice. And you can still remain within a cost-effective budget when you hire professionals for the job.

✨ For those who are not experienced in construction, it is recommended to hire a local Indianapolis handyman to refinish your cabinets, safely and securely.

Indianapolis Kitchen Remodeling You Can Afford

Call Restoration By L&B LLC at 317-454-3612 for Indianapolis kitchen remodeling and handyman services for kitchens, basements, bathrooms, patios, and more. Owner and general contractor, Lee Elliot, is happy to answer all your questions about home renovation services. And don’t forget; we guarantee to BEAT any prices quoted by our competition!

Home Remodeling Contractors 317-454-3612

How to Install an Interior Sliding Barn Door

Door Installation 317-454-3612

Door Installation 317-454-3612

Sliding barn doors are one of the most currents trends for indoor home décor. They come pre-manufactured in several different styles, colors, and finishes, but you can also re-purpose an old door with a little sanding, priming, and painting! If you are considering a sliding barn door for an area in your home, you are on the right track toward that modern farmhouse country look you have in mind!

Continue reading to learn just how easy it is to install a sliding barn door system all on your own.

What You’ll Need:

🛠 Sliding Barn Door System w/Hardware
🛠 Socket Wrench
🛠 Drill
🛠 Drill Bit
🛠 Router w/Half Bit
🛠 Metal Cutter
🛠 Level
🛠 Awl
🛠 Utility Gloves
🛠 Safety Goggles
🛠 Tape Measure
🛠 Drywall Anchors
🛠 Mounting Board
🛠 Cutting Oil

The sliding barn door system that you choose should come with the proper hardware needed to install it, including 2″ flat steel track, track joint brackets, spacers, screws, lag bolts, carriage bolts, hanger rollers, a bottom roller guide, and bottom rollers. The rest of the tools and supplies you’ll need can be purchased at your local home improvement store of choice. They range in price depending on brand, retailer, quality, and more.

Are You are Ready to Get Started?

In the first step, you will need to attach the mounting board. This will provide the necessary support for the actual barn door. Start by custom cutting the mounting board to fit the tracks. Cut the mounting board to match the length of the track, but make the width just a little wider than the track. To secure the mounting board, you will need your drywall anchors, lag bolts, and spacers.

The next step involves putting together the track. Follow the manufacturer’s instructions to assemble the steel track using your joint brackets. You will need to cut the track to the length you need. It should be twice the width of the door. This will allow the door to open all the way to reveal the entire entry space.

Next, you will need to measure where the holes will go to attach the track to the mounting board and wall. Then use your metal cutting drill bit to drill the holes you marked. To prevent the drill bit from slipping on the metal, use your awl to make a seat for it while you work. Use your cutting oil in the drill holes to regulate heat.

Now you are ready to install the track and spacers. Measure the track system and use your lag bolts to attach it to the mounting board and wall. Be sure it is level!

Last, you will need to install the hanger rollers and the actual barn door. It is wise to have a partner for this step since the door is usually pretty heavy. Use the manufacturer’s instructions to connect the hanger rollers to the door. You will need the provided carriage bolts, nuts, and washers for this step. Use your socket wrench to tighten it all up, and then attach the bottom rollers according to the manufacturer’s instructions.

Now just hang the door on the track!

Indianapolis Door Installation and Handyman Service

Home Repair Service 317-454-3612

Home Remodeling
317-454-3612

For professional door installation and similar handyman services, call Restoration By L&B, LLC at 317-454-3612 for quality service you can trust. Owner, Lee Elliot, is an experienced general contractor who offers a wide range of professional home remodeling, repair, and restoration services at the most competitive prices around. In fact, we guarantee to BEAT any competitor’s price! Call 317-454-3612 to request an estimate, today.